
WiFi Configuration
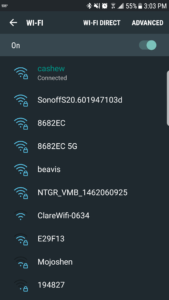
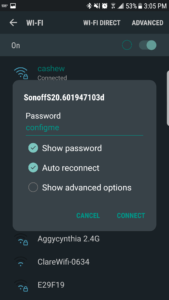
After flashing the device and attaching standard power to it, the device should start broadcasting a wifi SSID. The SSID will match the device type followed by a period and then some characters representing the devices MAC address. For example, the Sonoff TH would look like SonoffTH.3d8883d0f90f and the SmartLife H801 would look like esprgbw.5d7d404fe294. You then connect to the AP with the password: configme.
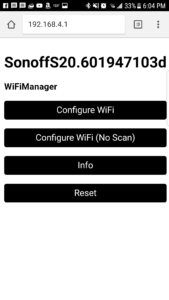
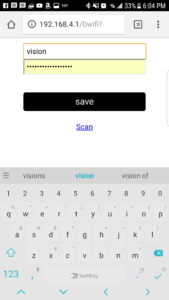
At this point, you may automatically be directed to a captive portal for the device in order to connect it to your WiFi network. If you don’t, then open a web browser and navigate to http://192.168.4.1. Here you are presented with a few options. You can either scan for your network to connect to or simply enter the network SSID and password. Either way, it is pretty self explanatory. After it connects to the network you specified, you will be booted back over to your home WiFi and the device should show up in your routers DHCP assigned license list. You can take note of the assigned ip address for some advanced configuration down the road, but it is not necessary to finish the setup in SmartThings.
SmartThings
Many third party devices (that are not Zigbee or Z-Wave) have a companion app that needs to be installed in order for the devices to work with SmartThings. The SmartLife versions of the devices found on this blog are the same way. You first install and publish the Sonoff (Connect) or SmartLife RGBW (Connect) SmartApps to guide you the rest of the way through the installation process. While you are at it, you might as well install the necessary device handlers that are listed on each device blog page.
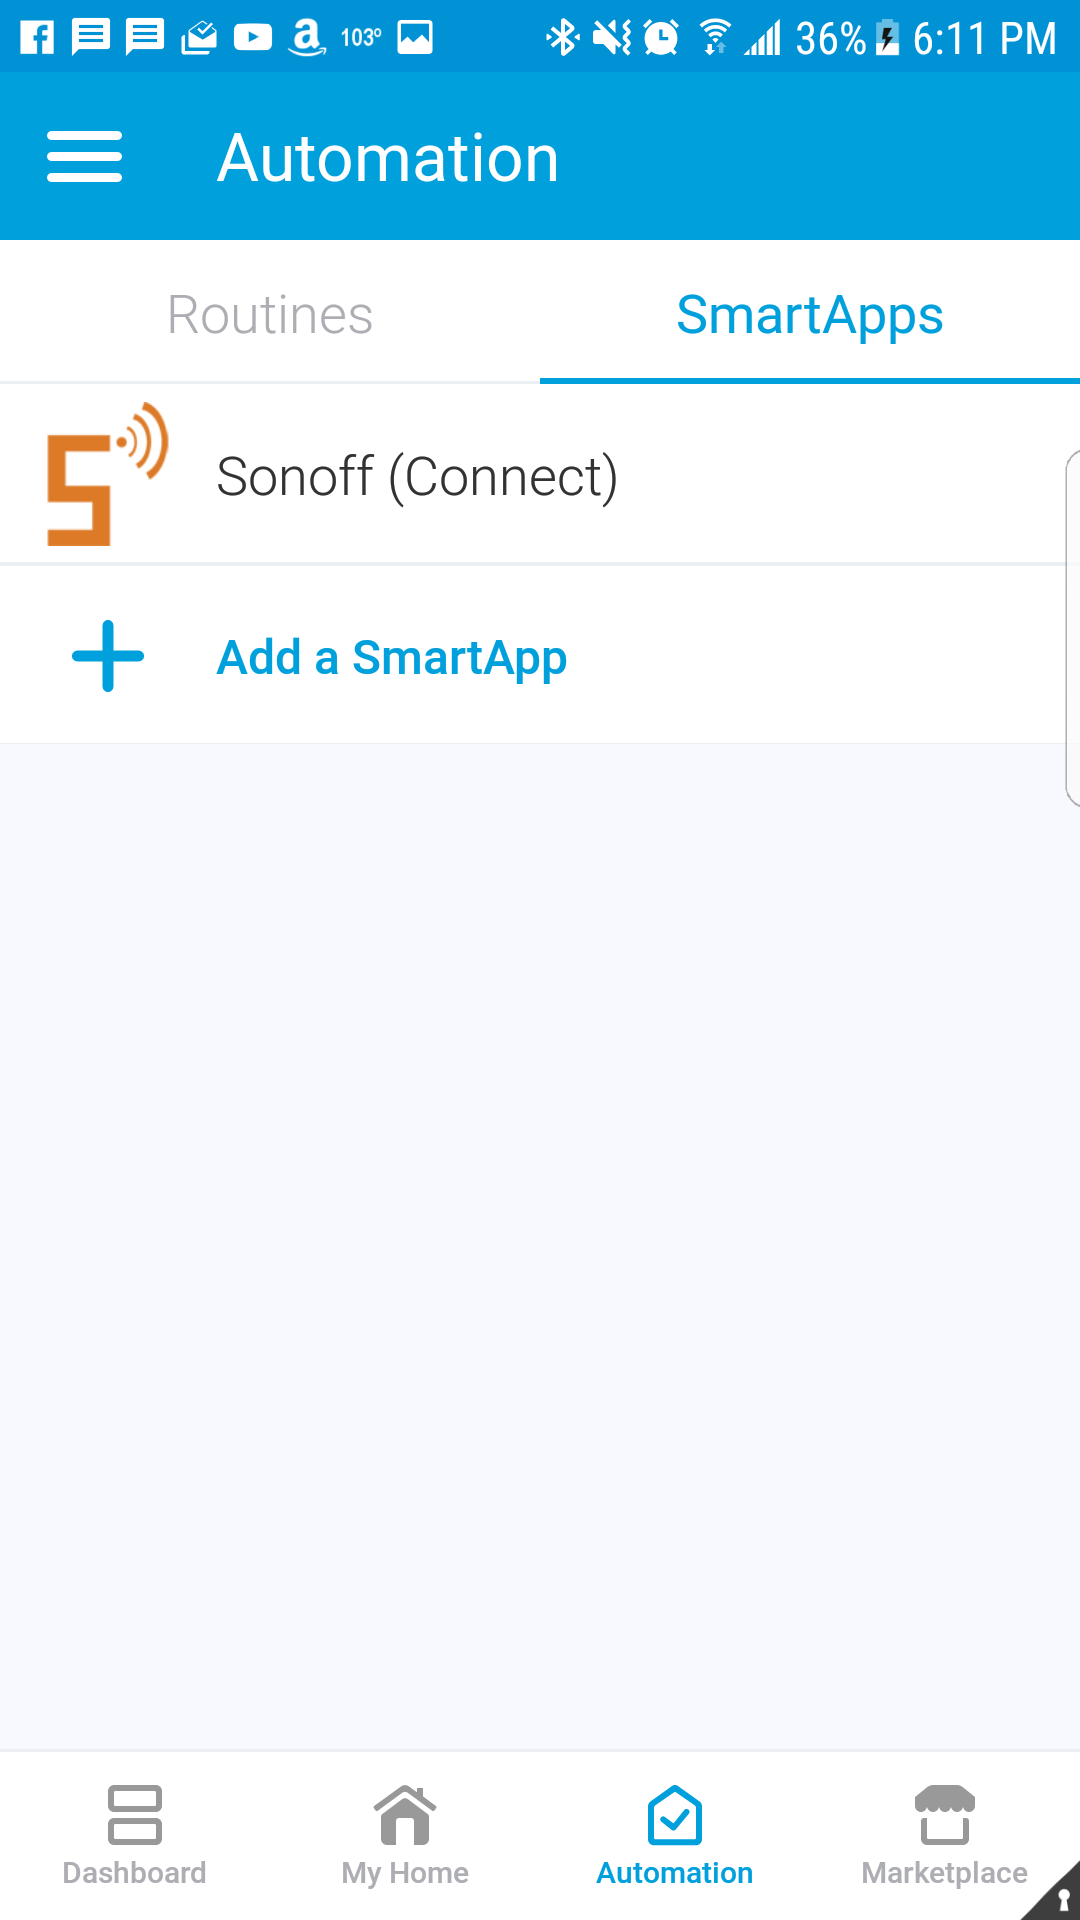


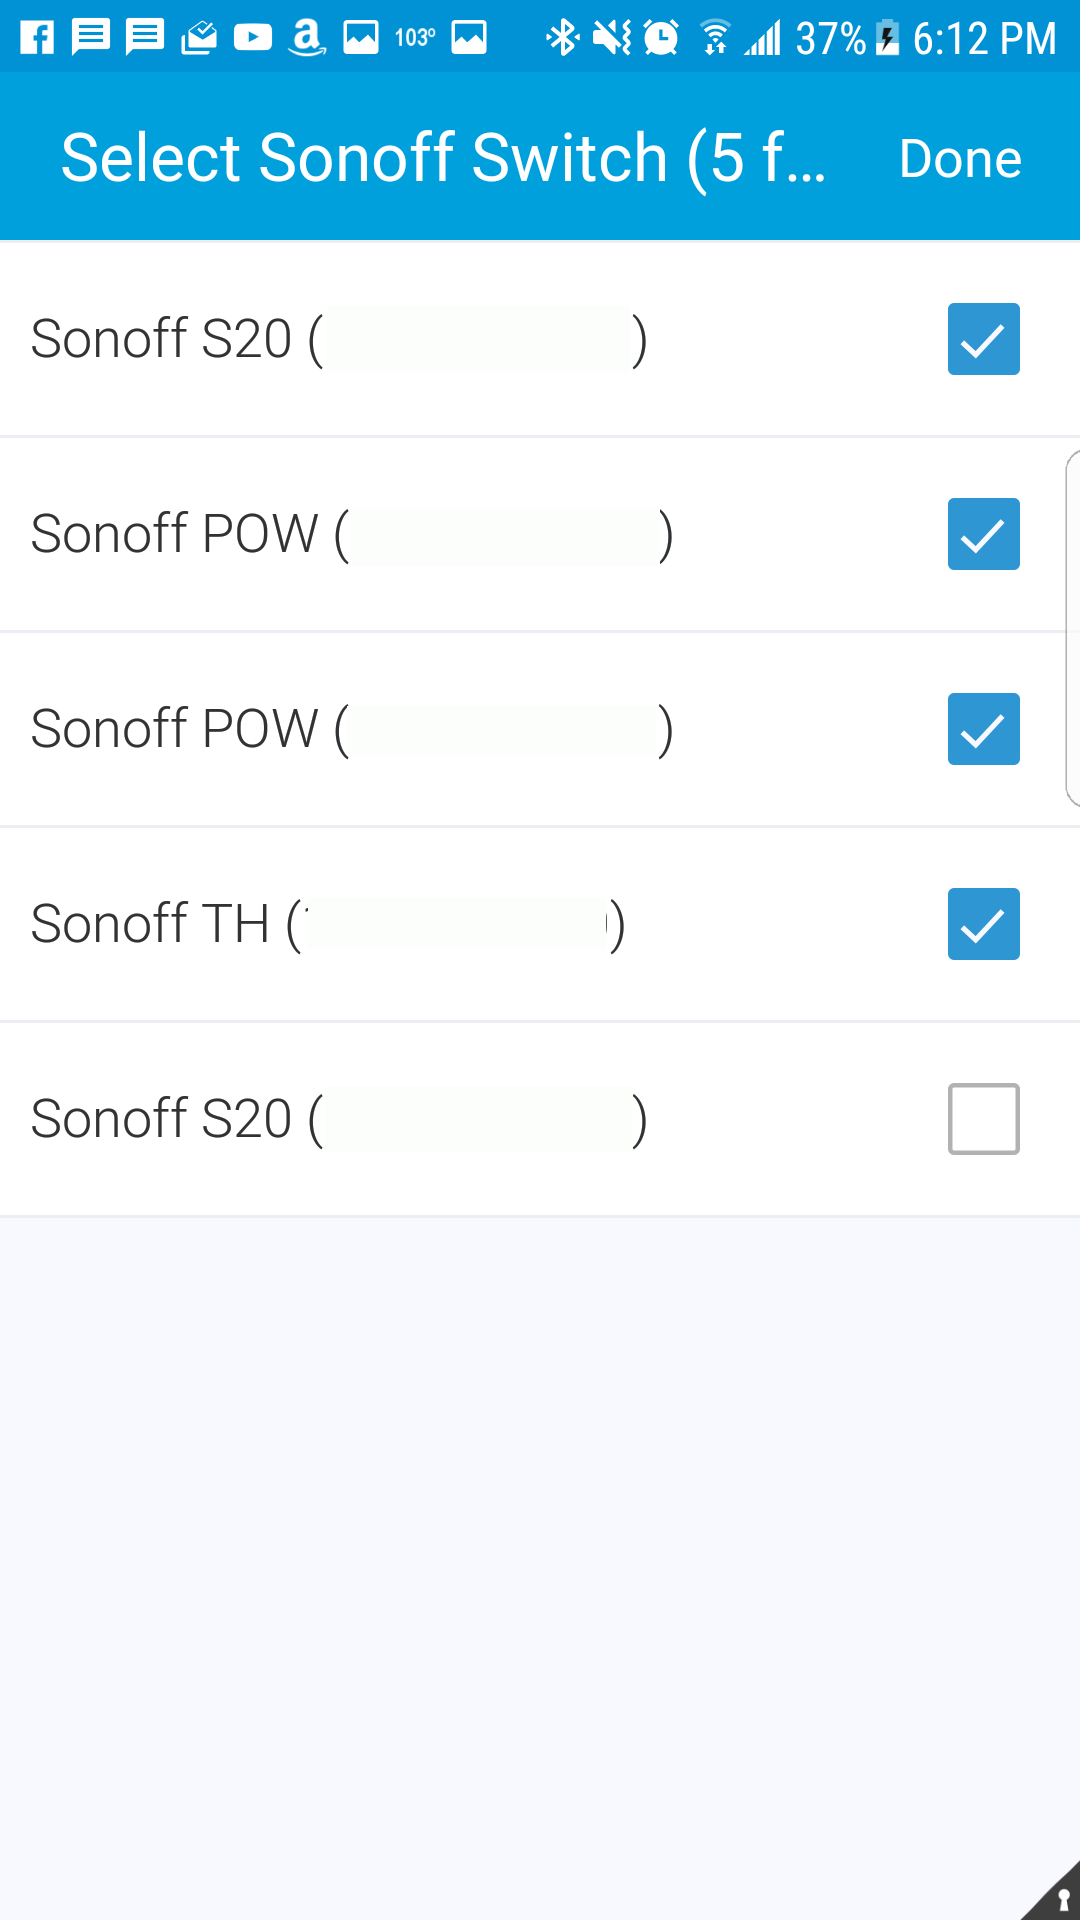

At this point, go into the SmartThings app on your phone and install an instance of either Sonoff (Connect) or SmartLife RGBW (Connect). Only one instance of each is needed regardless of how many devices you install. For most people, clicking on “Discover Devices” will be the next step to take. Wait up to 5 minutes and your device should show up. Click the check box next to the device, hit next, and this will install the device for use in SmartThings. That’s it! Depending on which device it is, you may be able to do some additional configuration inside of the SmartApp, otherwise you can go back to the “Things” list, find the device, and start to play around with it. It will be a fully functional SmartThings device that can be used in other SmartApps, Routines, Phrases, etc. You can also now control the devices through Google Home and Amazon Alexa!